One of the powerful features of Visual Patch is its scripting engine. This document will introduce you to the scripting environment and language.
Visual Patch scripting is very simple, with only a handful of concepts to learn. Here is what it looks like:
a = 5;
if a < 10 then
Dialog.Message("Guess what?", "a
is less than 10");
end
(Note: this script is only a demonstration. Don't worry if you don't understand it yet.)
The example above assigns a value to a variable, tests the contents of that variable, and if the value turns out to be less than 10, uses a Visual Patch action called �Dialog.Message� to display a message to the user.
New programmers and experienced coders alike will find that Visual Patch is a powerful, flexible yet simple scripting environment to work in.
In order to try out the example scripts in this chapter, you will need a basic project that you can build so you can run the patch application and see the scripts in action.
If you already have a Visual Patch project established, you can use a copy of it for this purpose. (Definitely use a copy of the project, though, so you can modify its scripts freely.)
Alternatively, you can create a simple project to use just for trying out your scripts.
All you need is a project that you can successfully build. Even if you have no intention of ever publishing the project, it will need a few items in order to get past the various checks performed during the build process.
The minimum, therefore, is a project with:
at least two version tabs
at least one file on each tab
at least one key file on each tab
By default, every new project in Visual Patch has some standard scripts that provide default functionality and serve as a starting point for the project. For the purposes of this chapter, however, you will want to remove the default actions.
You can remove a default script just like you would remove any text in a text editor: simply select the text (e.g. press Ctrl+A to select it all) and press the Delete key.
The examples in this chapter assume that you have removed the default script from the On Startup event (Project > Actions) and that the project can build successfully.
Tip: If you want to test actions in the On Startup event without proceeding with the rest of the patching process, add an Application.Exit() action to the end of your script for that event. This action will immediately exit from the patch application as soon as it is encountered in the script.
Here is a short tutorial showing you how to enter a script into Visual Patch and preview the results:
1. Set up a new project as described in the previous section Before You Begin.
2.
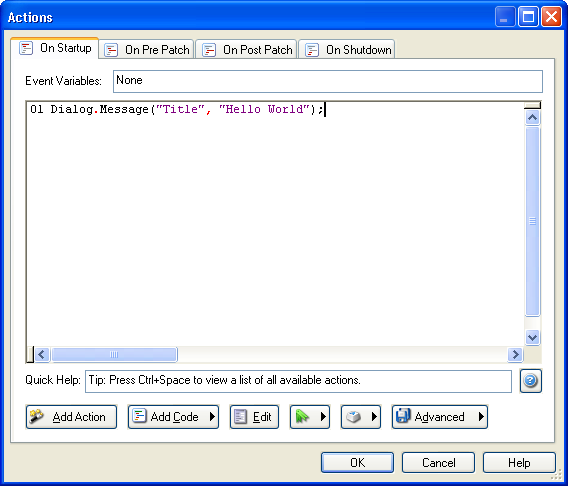
In the On Startup event (Project > Actions), add the following
line:
Dialog.Message("Title", "Hello World");
It should look like this when you�re done:
3. Click OK to close the action editor.
4. Choose Publish > Build from the menu and go through the publish wizard.
5.
Once you have built the patch, run it so the script you entered is performed.
You should see the
following dialog appear::
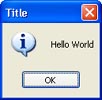
Congratulations! You have just made your first script. Though this is a
simple example, it shows you just how easy it is to make something happen
in your Visual Patch Application. You can use the above method to try
out any script you want in Visual Patch .
Note: If you are working with actions that interact with screens, you will need to perform the actions from a screen event.